Sunday, May 19, 2013

Basing for Regimental Fire and Fury

 
 Here we see another unit rebased for RF+F, these are large Renegade figures. Renegade make nice figures,even if they are on the slightly large side of 28mm. Best keep them in units together rather than mix them with other manufacturers.


 The larger 30mm deep bases allow for even these standing figures to have a little character, with sergeants walking in between the ranks. There is even room to put a fleeing soldier who has seen too much and has decided to retire to the rear.
 
It's an important note to remember to blow off the excess flock as it does tend to stick to the figures after basing is finished. Something I haven't done yet on this regiment.


 I tend to give some bases four to a base, this adds variety and comes in handy for command bases with their two standards.

"Get back in rank Johnny" no..he's gone.

Regimental fire and Fury

 The Union battle line surges forward.


 Below is the old Union units waiting to be revamped. The mighty Iron Brigade is next in the firing line.
 

Finished Bases in Battle


 I really like these new bases with their added depth, It now means figures have more room to be placed and a line can become quite ragged. This is a vast improvement to my old basing where figures were in straight geometric lines. Also, as mentioned many times before, these deeper bases can now house fallen and wounded characters, adding to the atmosphere of the game.


Finished! Time for War!


You can see on the picture above that I have dry brushed the tufts with yellow Ochre to dry them out and add to the dead grass look.


The rocks are now dry and give off that Devils Den look.


 A staggered firing line struggles to hold formation under the withering fire of the enemy.

 "Give'em the cold steel boys, give'em the cold steel!"


Finishing Touches and Tufts

 
  So the three layers are now dry. The dry looking base layer, the layer of dry looking stones and the third layer of 'Meadow grass'.

 This looks good enough to go with as it is, but recently there has been a flurry or excellent basing products to the market that can really add a little extra something to a base. mainly grass tufts from MiniNatur and Silflor. Other companies have copied these products now and they can be found in a number of good hobby shops and Websites. After all these added extras there is no chance of seeing any figure bases anywhere!

 
 I like to use the winter variety of tufts, as these can be dry brushed to fit in with different seasons. For example, for these ACW bases I will dry brush them with an Ochre yellow, so they look dry and parched. I learned this gem of BigRedBat.

 
 The granite base coat dry, I then dry brushed them again using Foundry's Granite 'C' colour paint. I also found some undergrowth flock and parched static grass on the Flames of war website. I have been trying to locate 'yellow' static grass for ages and finally tracked it down.  Both these products were added to a selection of bases to add variety.


 'Parched' static grass made by 'Force Nine' was added to areas of the base in small patches. These were little finishing touches that helped create that American feel.


Basing with Flock


 Now that the PVA glue is dry we can paint those slate rocks.

 
 I chose Foundry's Granite 'A' colour to do the first coat. I also covered some of the surrounding gravel with the paint to blend the stone work into the base.


Another huge attraction for me rebasing these old figures, is the chance to add little dioramas to them. Fallen comrades, rocks and small bushes all add to the playing pieces and set the mood and style of the war. By mixing up the poses of characters, a real struggling battle can be achieved.

Third Layer

 Above you can see the first two layers, everything looks quite dry. It's time to add a little bit of life to the base.
 The next layer of flock is one called 'Meadow Grass Flock' from Gaugemaster. It's a common flock found in most good railway hobby shops.

I also manged to track down and buy some yellow static grass which was added on top of the meadow layer once it was dry.

Second Layer


The first layer being dry, It was time to add some light stones to the base. I wanted to leave lots of base colour on the stand, so I just applied the PVA glue in tiny patches around it. If I saw a metal figure base showing, I would cover it with this layer.


The flock and gravel colours are quite similar and blend well together. I don't like painting gravel so I looked for a nice natural colour that wouldn't need a layer of paint to make it look realistic.

To add a little variety to the army of bases, I added a few splinters of slate to some bases. This again helps to achieve the American terrain look. If you ever want to fight the battles of Gettysburg (which I do) then this look is for you.
Unlike the small patches of gravel, I will paint this larger slate pieces to detail them. I got the slate pieces from a guy off eBay.

First Layer Done

 
 So the first layer has been flocked.

 I found with this sawdust like flock, the PVA glue would show and soak through the flock. A second dunk in the flock tub just made sure the base was well and truly covered in colour with a nice thickness to it. Any mistakes or patchy areas at this point can be covered over in later stages so do not worry about details. Sometimes the metal bases of figures can still be seen easily after the first layer, but do not worry.

The great thing about flocking bases is that it allows you to do whole armies in one go and quickly too.

Step by Step Basing the easy way

 
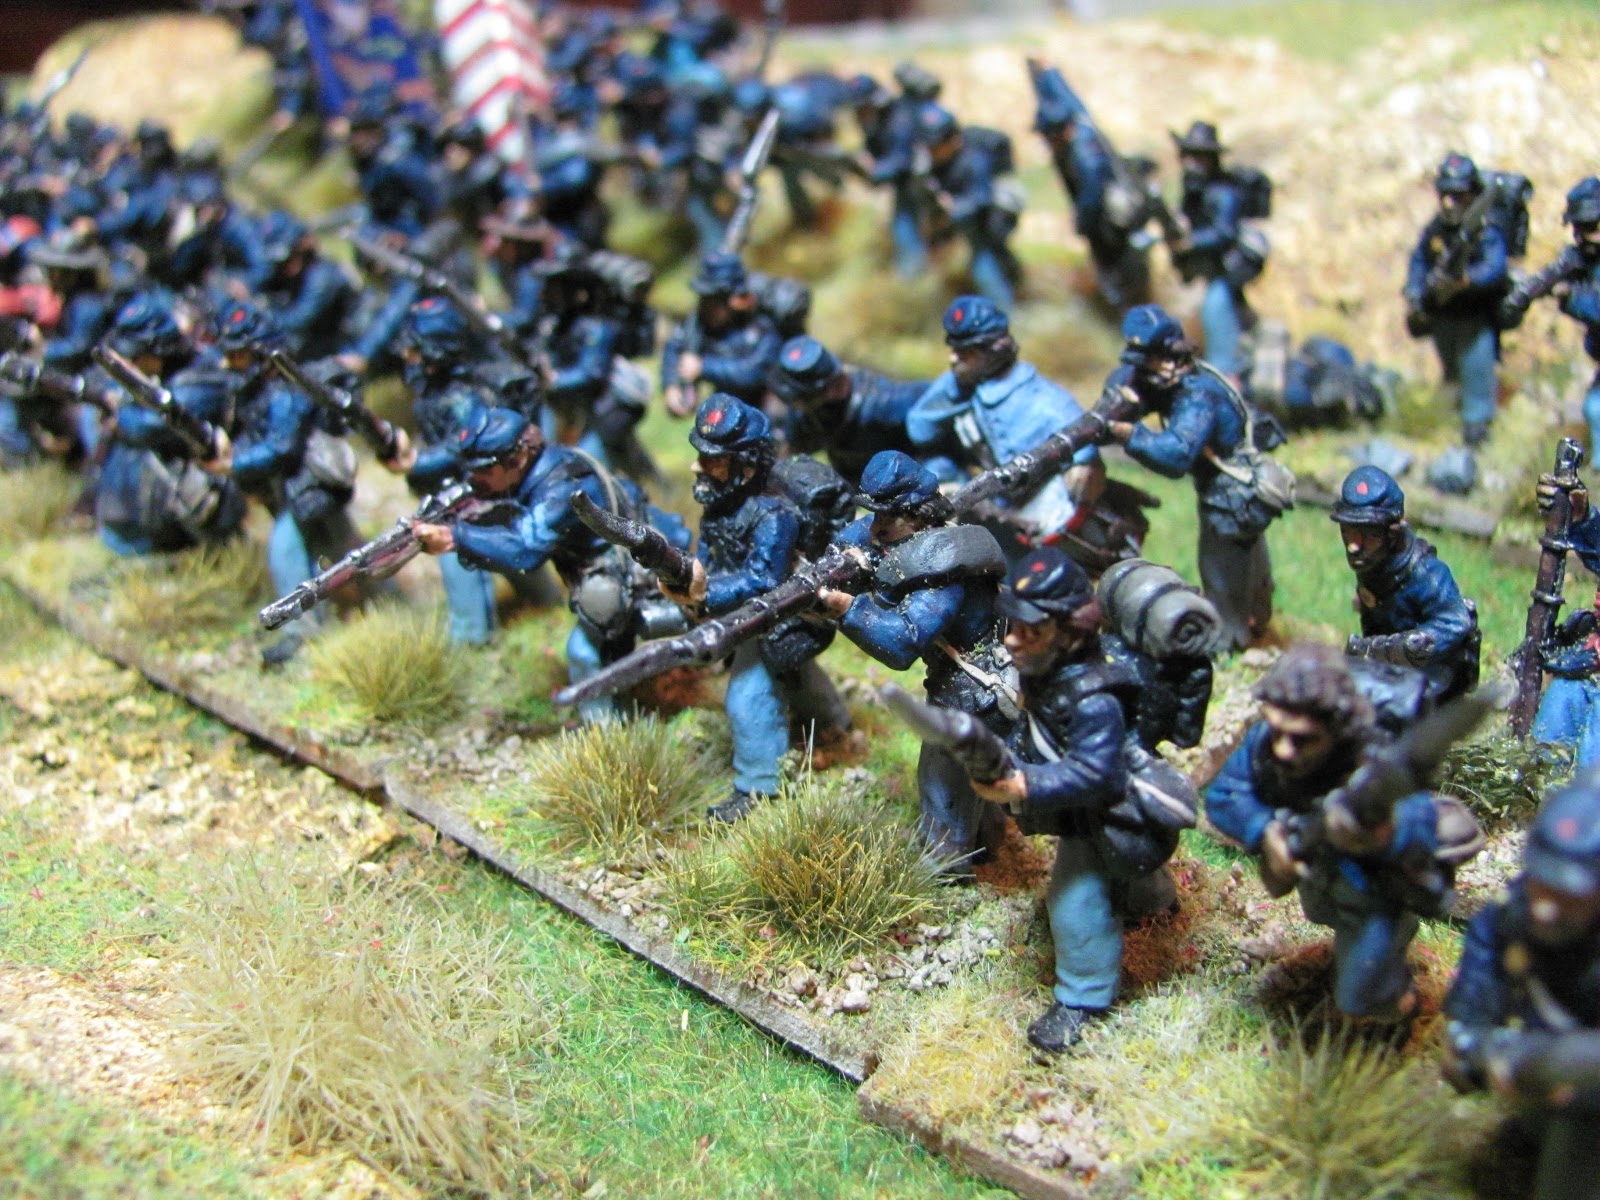
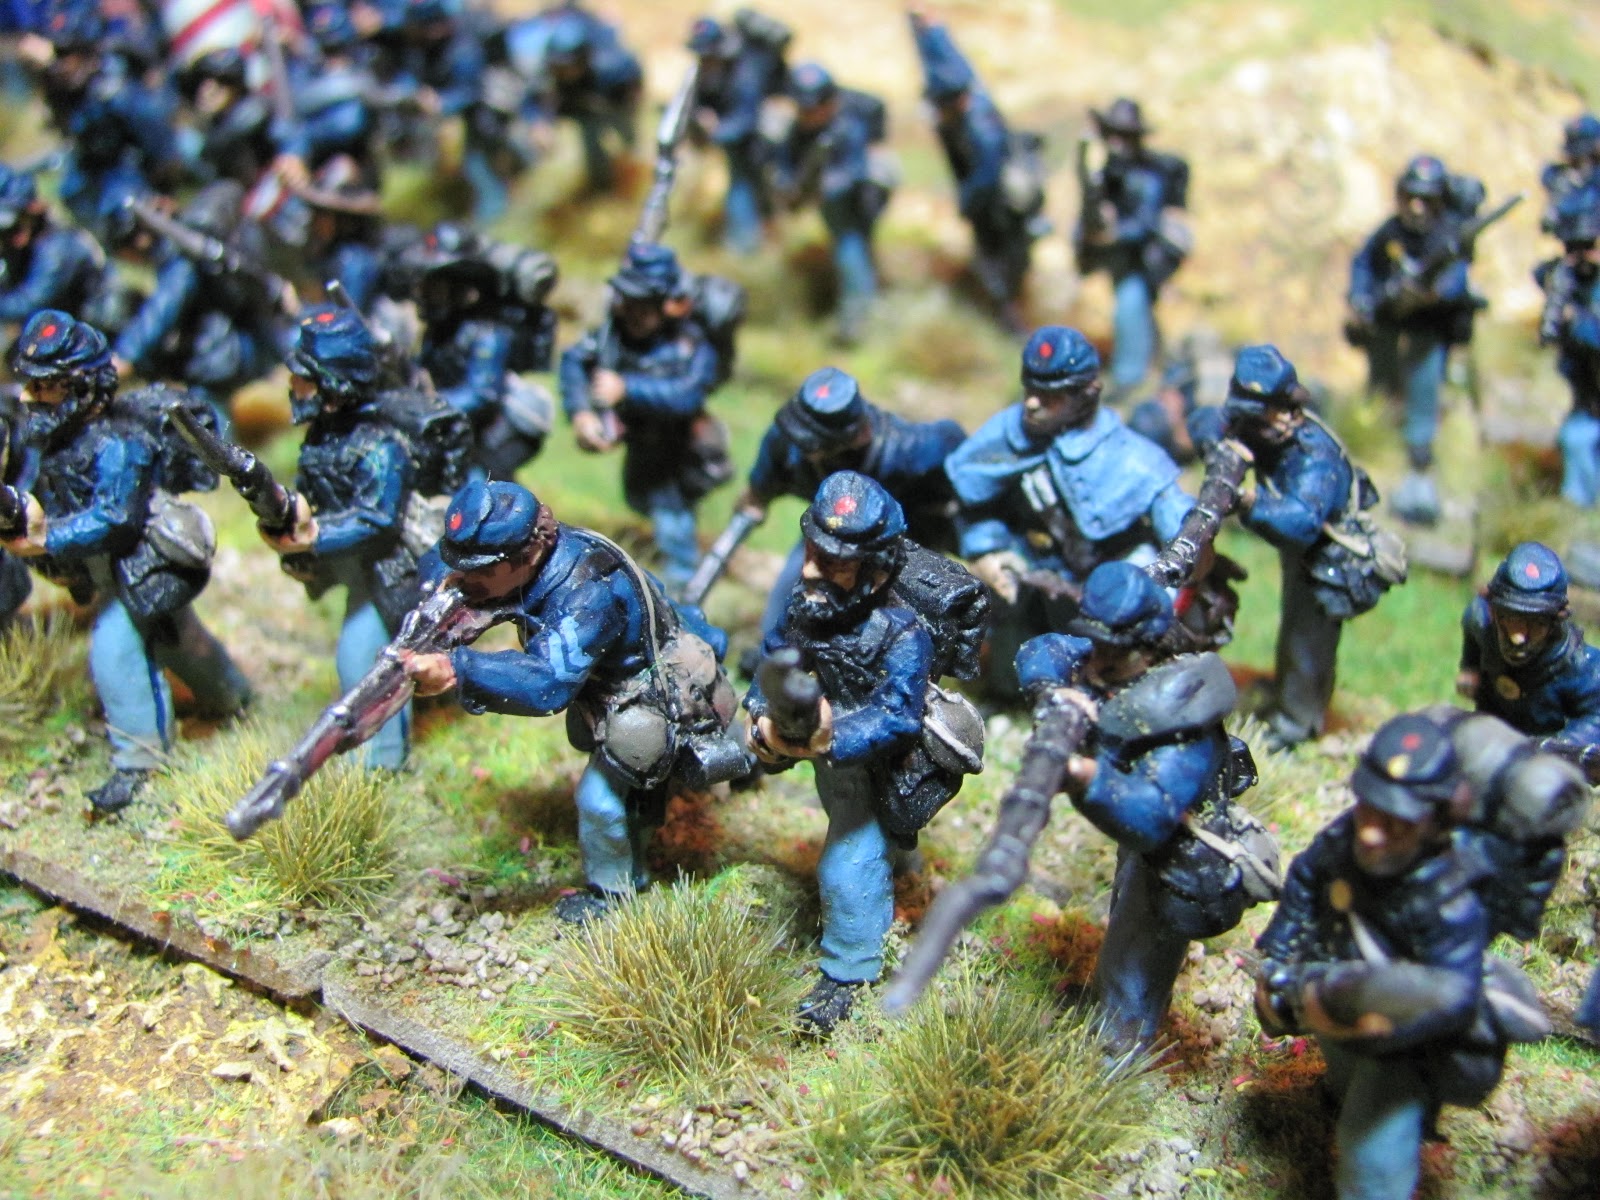
 Here is a step by step lesson in how I base and flock my ACW figures. These figures have been rebased to fit with the Regimental Fire and Fury ACW rules. My figures were originally based in threes but I liked the idea of having deeper bases to play around with. Also the rebasing gives me a chance to update the painting on a lot of old models painted back in 1997.
In those days my only experience of historical gaming had been 15mm and so I based figures three to a base but in the same pose. Time for a mix up and a change.

 
 I have always been a lazy baser and would speed through basing to spend more time creating masses of troops. Over the years I have developed a simple style of basing that looks good but is very quick and easy to do. I have been asked to share this basic approach to basing so here goes, I hope someone out there finds it useful.

 
 I did a bit of research into American ground colours on a trip to the States and from ACW books. The ground is quite dry looking with a lot of dead grass due to the climate. So first I searched through my vast flock collection to find a suitable 'dry' colour. This will act as the base colour from which to hang everything on.
 
Over the years I have collected a massive collection of different flock colours. These have been horded from model railway shops and the like. The name of this flock has been lost to history but it had the right colour to it and also I had a large quantity of it. We were off...

Once the three figures were based on their new 45mm x 30mm base (from Warbases), I painted PVA glue on the base and dipped them in the first round of flock.